|
For this week's dev log, I thought I might take a minute to write about a few of the tools I have been using to develop Monumental Failure. Polyworld by Quantum Theory. I purchased their "Woodlands" pack a few weeks back. The pack can convert Unity terrain objects to hard edged objects, i.e. low poly. The package itself contains a few models, and a script that takes a textured model, and spits out a low poly copy. 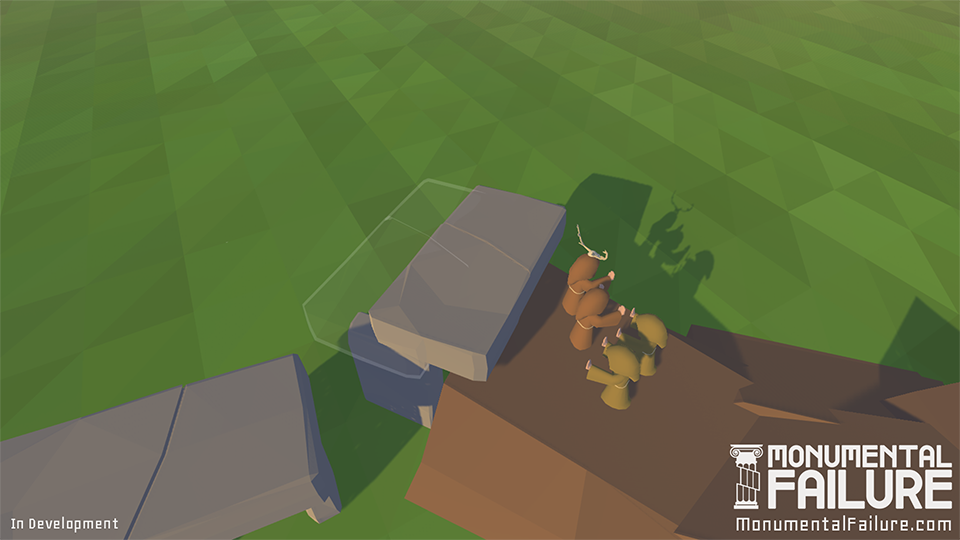 Sweet vertex lit triangle grass. This pack was great to use at the beginning of development to establish Monumental Failure's aesthetic. However, at a distance, the uniformity of Polyworld's terrain triangles becomes quite apparent, taking away from the "handcrafted" feeling that low poly art usually invokes, and the look and feel we want to achieve in the game. Relying solely on this pack to create our low poly look would be a mistake, so we've decided to develop the look on our own, using the pack as an enhancement when needed. 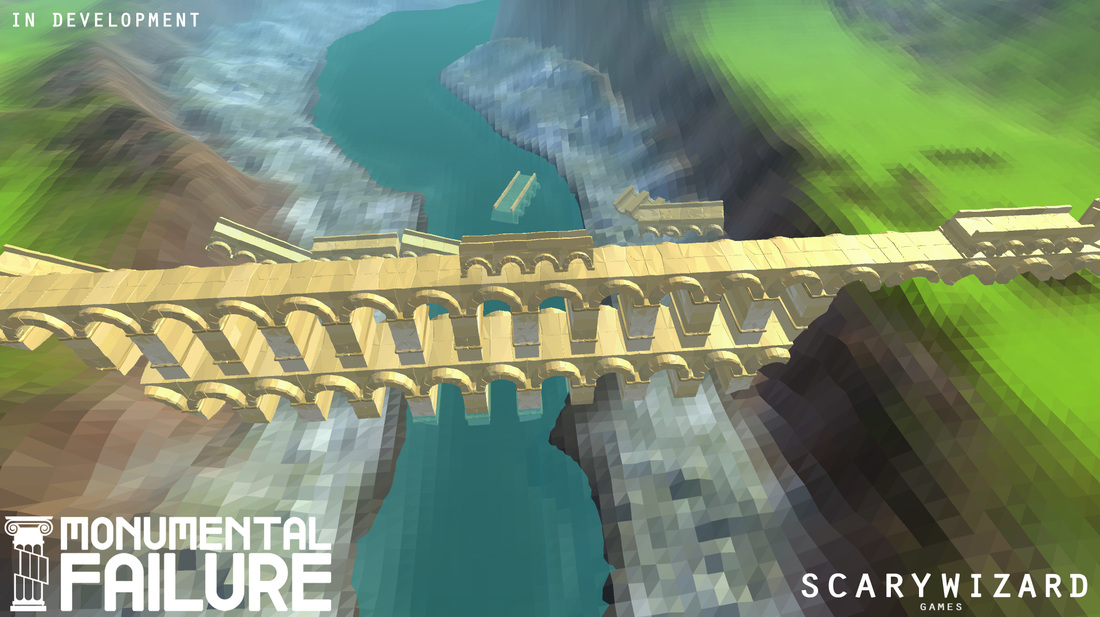 These triangles are too uniform! That said, Polyworld still gets a hearty recommendation from us here at Scary Wizard Games, and is a steal at 50 bucks. Kino Fog by Keijiro Takahashi. If you're a Unity dev and you haven't heard of Keijiro, you've been missing out! He makes some of the most interesting screen space effects and releases them for free! Kino fog fades your geometry into the skybox. We're using this to avoid the need to create a skybox geometry, something that would rarely be seen with our game's typical camera angles. 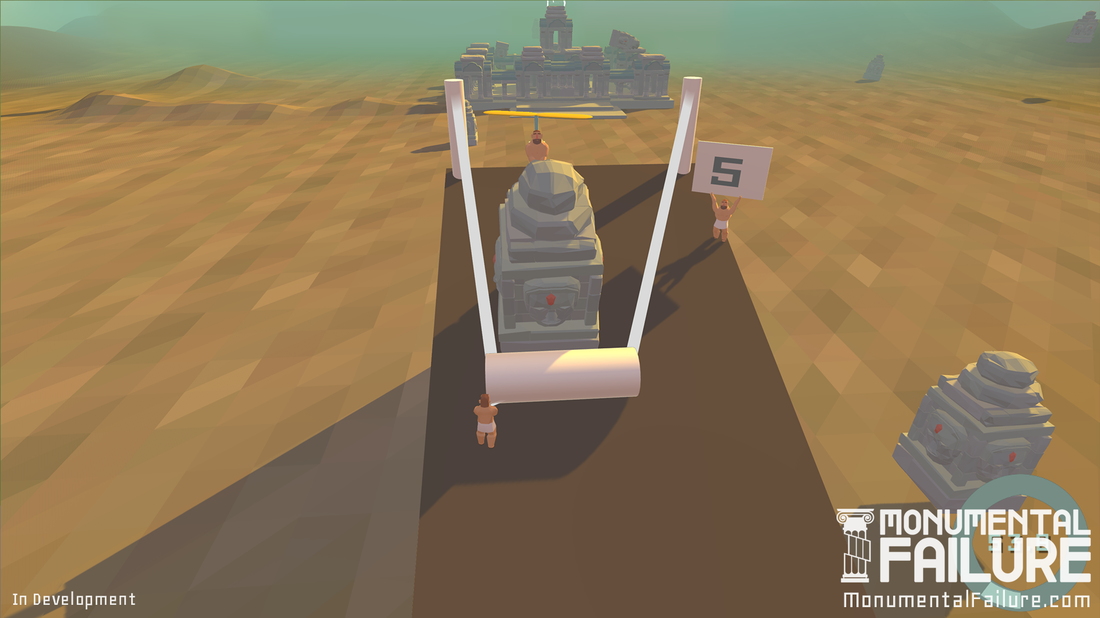 Sweet fade to turquoise. InControl by Gallant Games. I had originally set up Monumental Failure's input settings to work with an Xbox 360 controller on a Windows PC. I assumed that when I plugged the controller into a Macbook, it would work. When it didn't, I knew it was time to purchase InControl. InControl does its best to handle and generalise the input of a wide array of controllers. I'm hoping that replacing my current controller code with InControl will make Monumental Failure a simple plug and play. This peace of mind is definitely worth the 40 bucks InControl costs! That's a quick summary of some of the tools I've been using. I'm hoping this might be helpful to some of you Unity developers out there! Cheers, Spencer
1 Comment
I told a friend earlier this week that there's a lot of naivety regarding how much work on a game is polish and iteration. Later this week, I found myself stressed by the fact that instead of pushing forward and designing new levels, I was instead re-doing the system for loading levels. 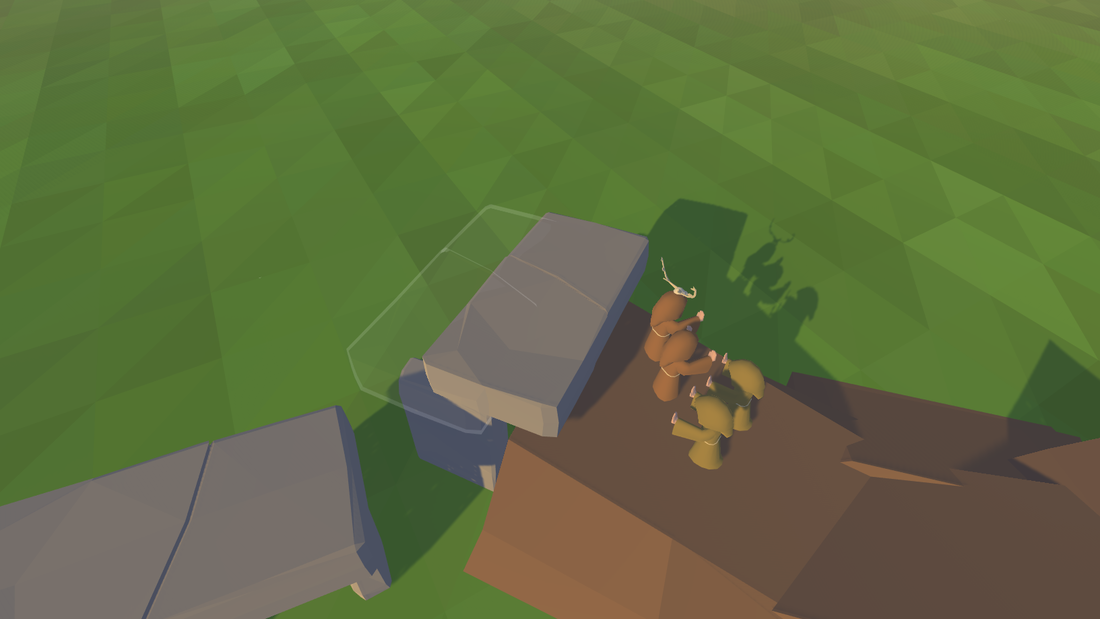 I'm sure this looks like just another Stonehenge screenshot, but what it represents is a level loader that doesn't break lighting! As you may or may not know, Monumental Failure started as a game jam game. I had always wanted to include a split-screen multiplayer option, but game jam time constraints meant that didn't happen. For our Greenlight campaign, I knew the game jam version had to be fixed up, with prettier menus, non-meme-y gods, and most importantly (to me anyways) - split-screen! I devised a level-editing system that let each level have a scene it was designed in, a script to write all the designs to prefabs, and a main scene to load those prefabs, and had it repeat the loading for the number of players. It worked well, except for the lighting. It was subtle, but the loaded prefabs were always just a bit darker than they were in the design scenes. To be honest, I don't know enough about Unity's lighting system to tell you why this is. I can tell you how I fixed it though. Levels now consist of two scenes. The first, contains the lighting info and a directional light. Lightmap baking has to have its "auto" mode turned off. The second contains the "content", the actual designed game stuff. To load the level I first load the lighting, then additively load the content for each player, merging it in to the lighting scene. I can use the "Scene" object to grab all the root GameObjects in the scene and move their position so that players aren't playing on overlapping levels. In the end, I am essentially throwing out about half the work I had done when making the original level loader. This sucks, but it's part of the process, and I can live with it. More importantly, it's better now. The levels load smoother and faster. Two steps forward and one step back. Iteration can feel bad, especially when it means scrapping hard work I've already done. At the end of the day, I have to accept it as part of the process, and focus not on what is lost, but what is gained. At least, that's what I'm telling myself :-P -Spencer 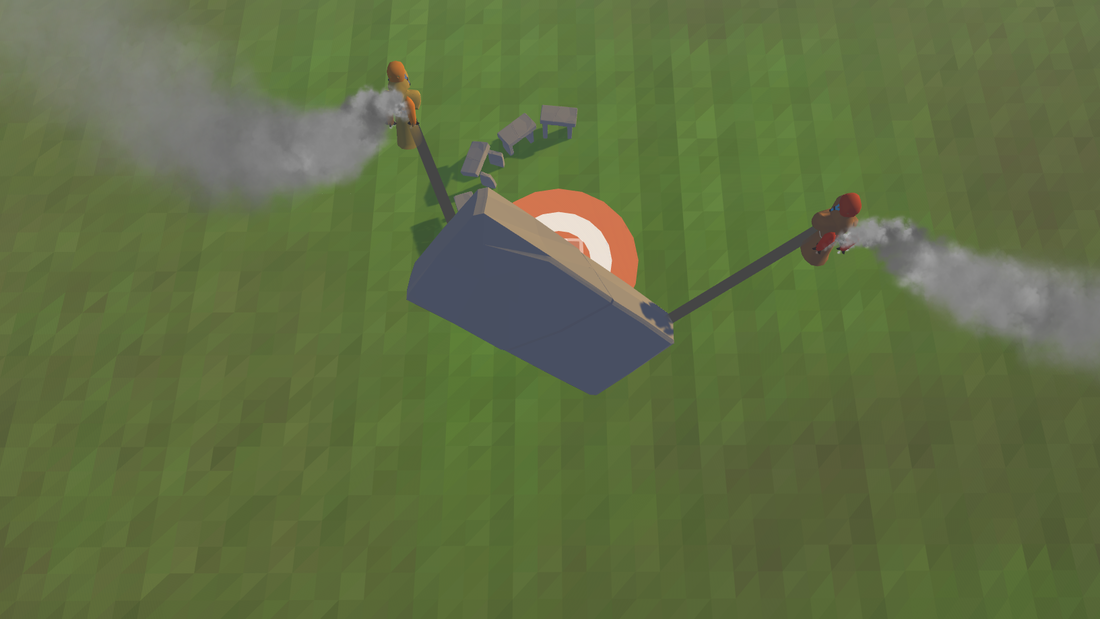 There's some weird banding in the grass that I'm going to have to polish that out. Iteration never ends!
Hello Scary Wizard fans! Jess here! It's been just over three weeks since Monumental Failure was Greenlit, and we’ve been working hard to get the game ready. We were so caught up with getting our Steam Greenlight submission ready, that when the game got approved, our joy was quickly overtaken by one daunting thought: “Oh god, now we have to actually make the game!” As a very casual gamer, and someone who, up until the beginning of this project, had just about no involvement in the gaming industry, I really had no idea what to expect as an artist working on a game, let alone an indie game. 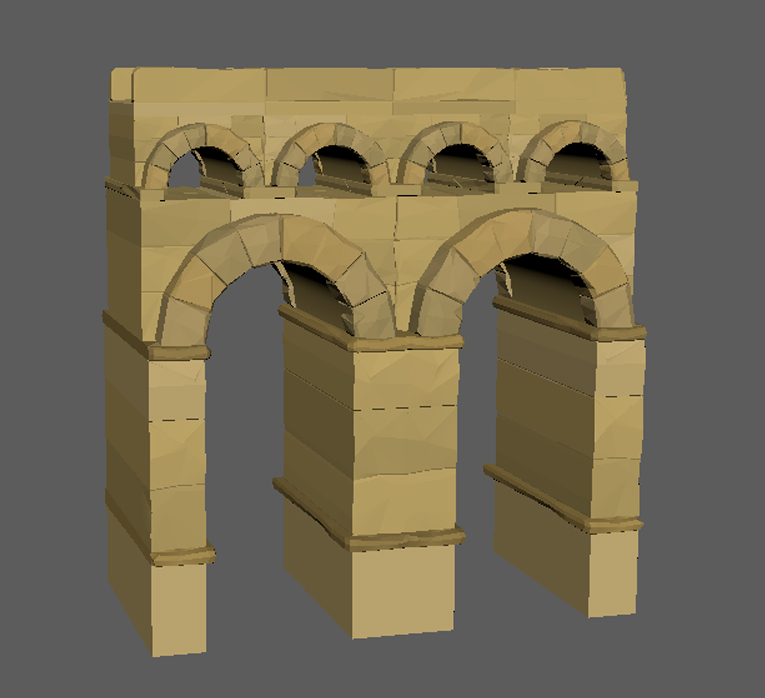 The first monument model: a roman aqueduct. The most challenging aspect of working on such a small team is having nobody to turn to when things go wrong. Spencer and I have very complementary skill sets, but neither of us really knows how to do the other one’s work. I know nothing about programming or coding, and Spencer’s no 3D artist. We’re both really working on our own, and only have ourselves to figure out any issues that come up. Fortunately for me, I’m always up for challenge. My biggest challenge so far has been rigging the game’s characters. We decided to create a series of fun, low-poly characters to use in the game. Rather than having stiff characters with only moving arms, like the characters in the demo version Spencer creates, I figured I could design, model and rig up some cute characters to add some more appeal to the game. It should be easy, right? No big thing, I thought. As someone who absolutely did not want to work in rigging or animation (yes, despite having studied those exact subjects), this was a hugely tedious task that I put off for a good while. Once I finally sat down to do the rigging, I figured since I’d aced my rigging courses in college, I'd be totally fine. Well it didn’t take long for things to go south, and I had to re-evaluate my approach and throw out all of my previous work. I did eventually get the rigs completed, but it was definitely a struggle. On the plus side, I can now rig up a character in just under 10 minutes flat, and that's an accomplishment I think I can be proud of! 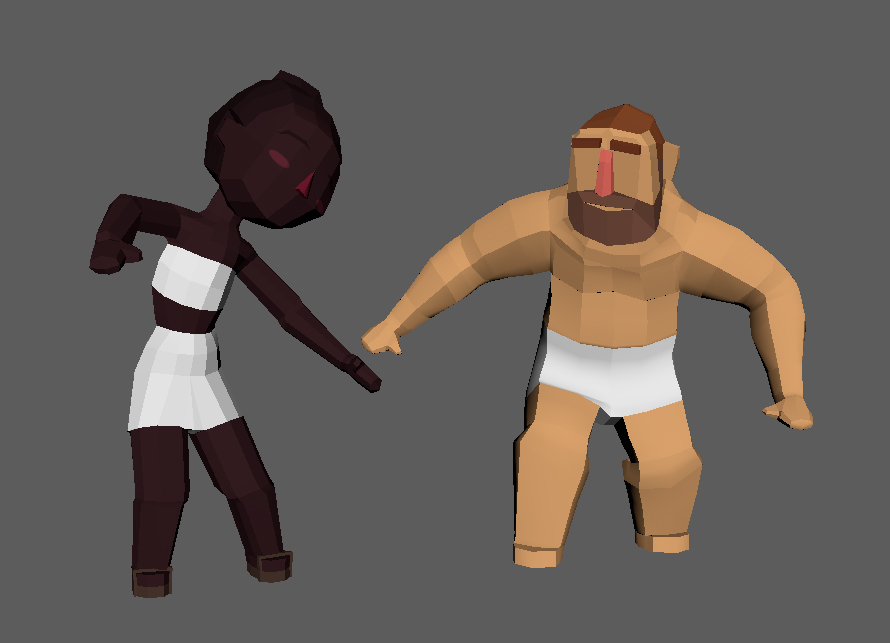 These two look more prepared for a dance party than for some serious monument building... Being a two man team means we are both constantly faced with tasks that we have absolutely no idea how to do, and yet we have no choice but to learn how to do them. I don't think there is any better way to learn to do this stuff than to jump right in.
Jess |
Archives
March 2017
Categories |
 RSS Feed
